A clean wrap starts long before the first panel of vinyl touches the vehicle. The quote, material choice, design, inspection, prep, installation, and final walkthrough all affect the result.
Step 1: Define the project
The process begins with the vehicle details and the goal. A color-change wrap, printed commercial wrap, accent package, and chrome delete all require different materials and labor.
Send the year, make, model, current paint color, photos, and the finish you want. For commercial graphics, include the logo files, contact information, brand colors, and the most important message customers need to see.
Step 2: Inspect and prepare
Vinyl follows the surface underneath it. Rock chips, peeling clear coat, rust, and body damage can show through or keep adhesive from bonding correctly. An honest inspection protects both the customer and the installer.
Before installation, the vehicle is cleaned and decontaminated. Trim, badges, handles, or other parts may be removed when it improves coverage and allows cleaner edges.
Step 3: Install with a panel plan
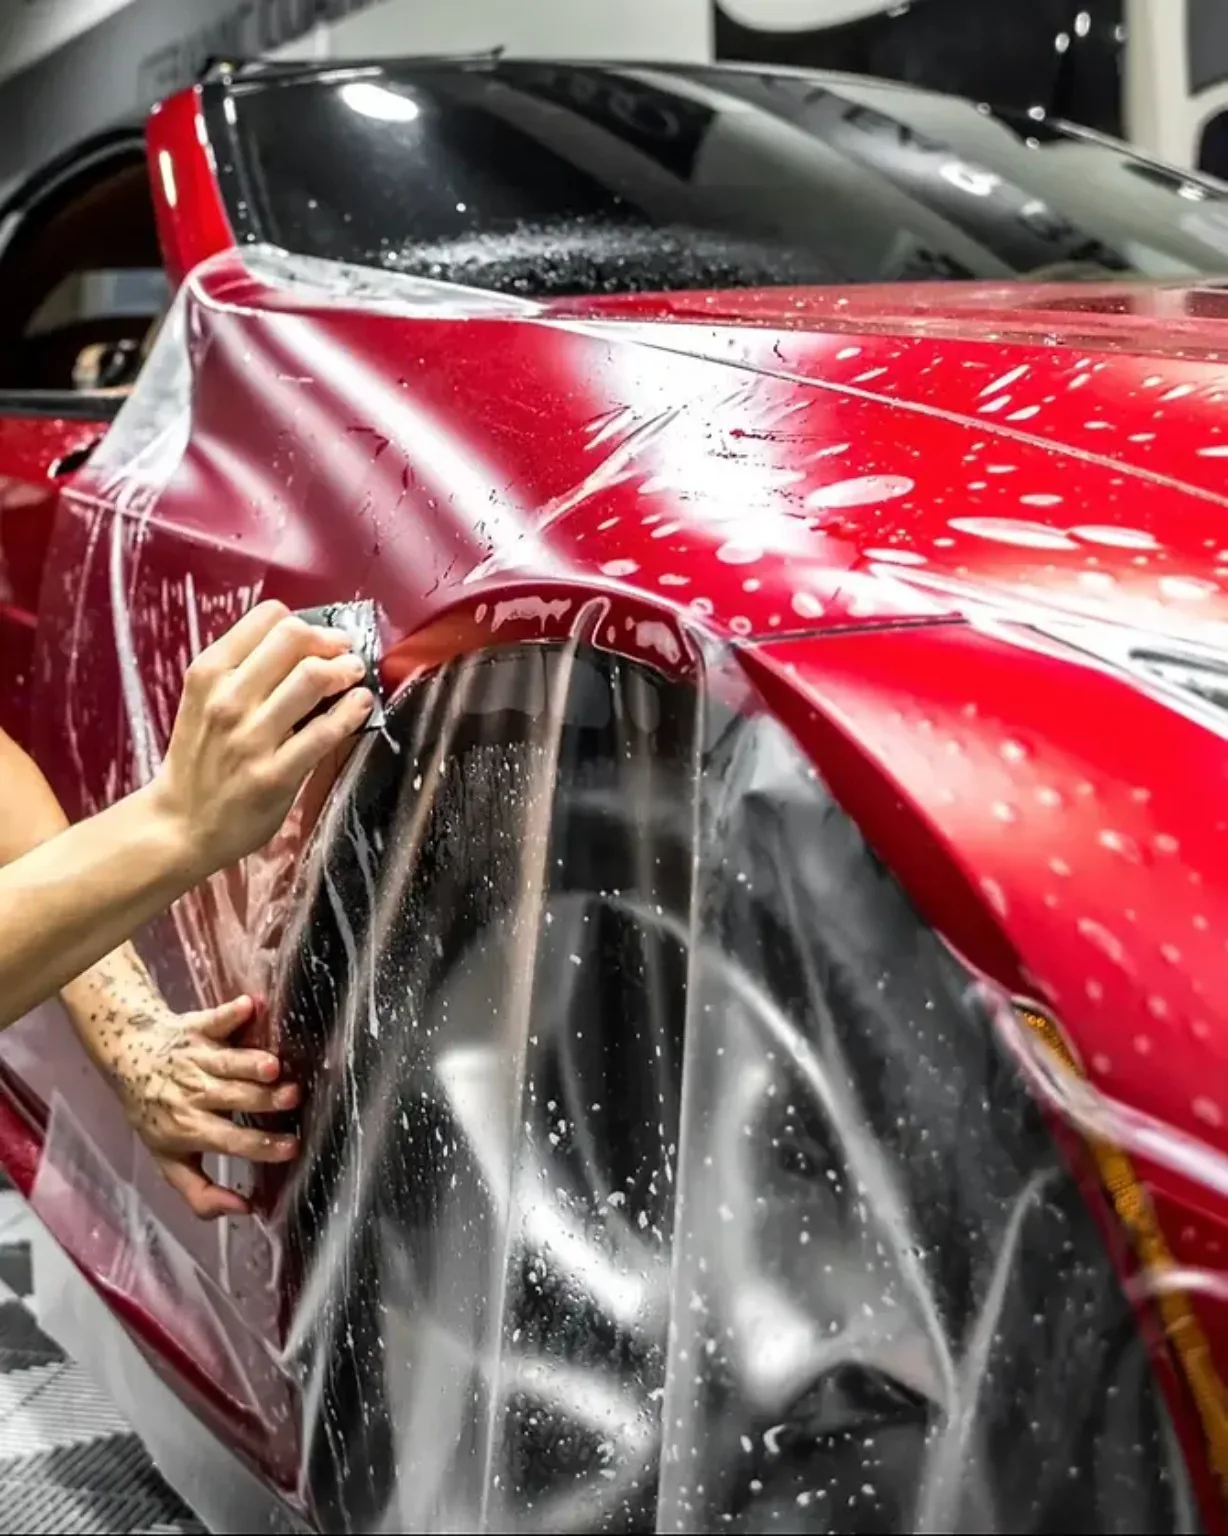
Professional installers plan seams, stretch, inlays, and panel order around the vehicle’s shape. Large flat areas move quickly; bumpers, mirrors, deep recesses, and body lines require more time and precision.
Printed wraps add production steps before installation, including design approval, print setup, lamination, and panel preparation. Rushing any one stage can affect the final finish.
Step 4: Inspect, care, and reveal
The completed vehicle is inspected for edges, seams, alignment, and finish. You should leave knowing how long to wait before washing, how to clean the material, and when to contact the shop.
The reveal is the exciting part, but the process behind it is what makes the result last. Clear expectations and careful preparation are the foundation of a wrap that looks intentional.
Every vehicle and project is different. Call or text Wrap Supply Co. at 719-339-0953 for a recommendation based on your vehicle, goals, and budget.